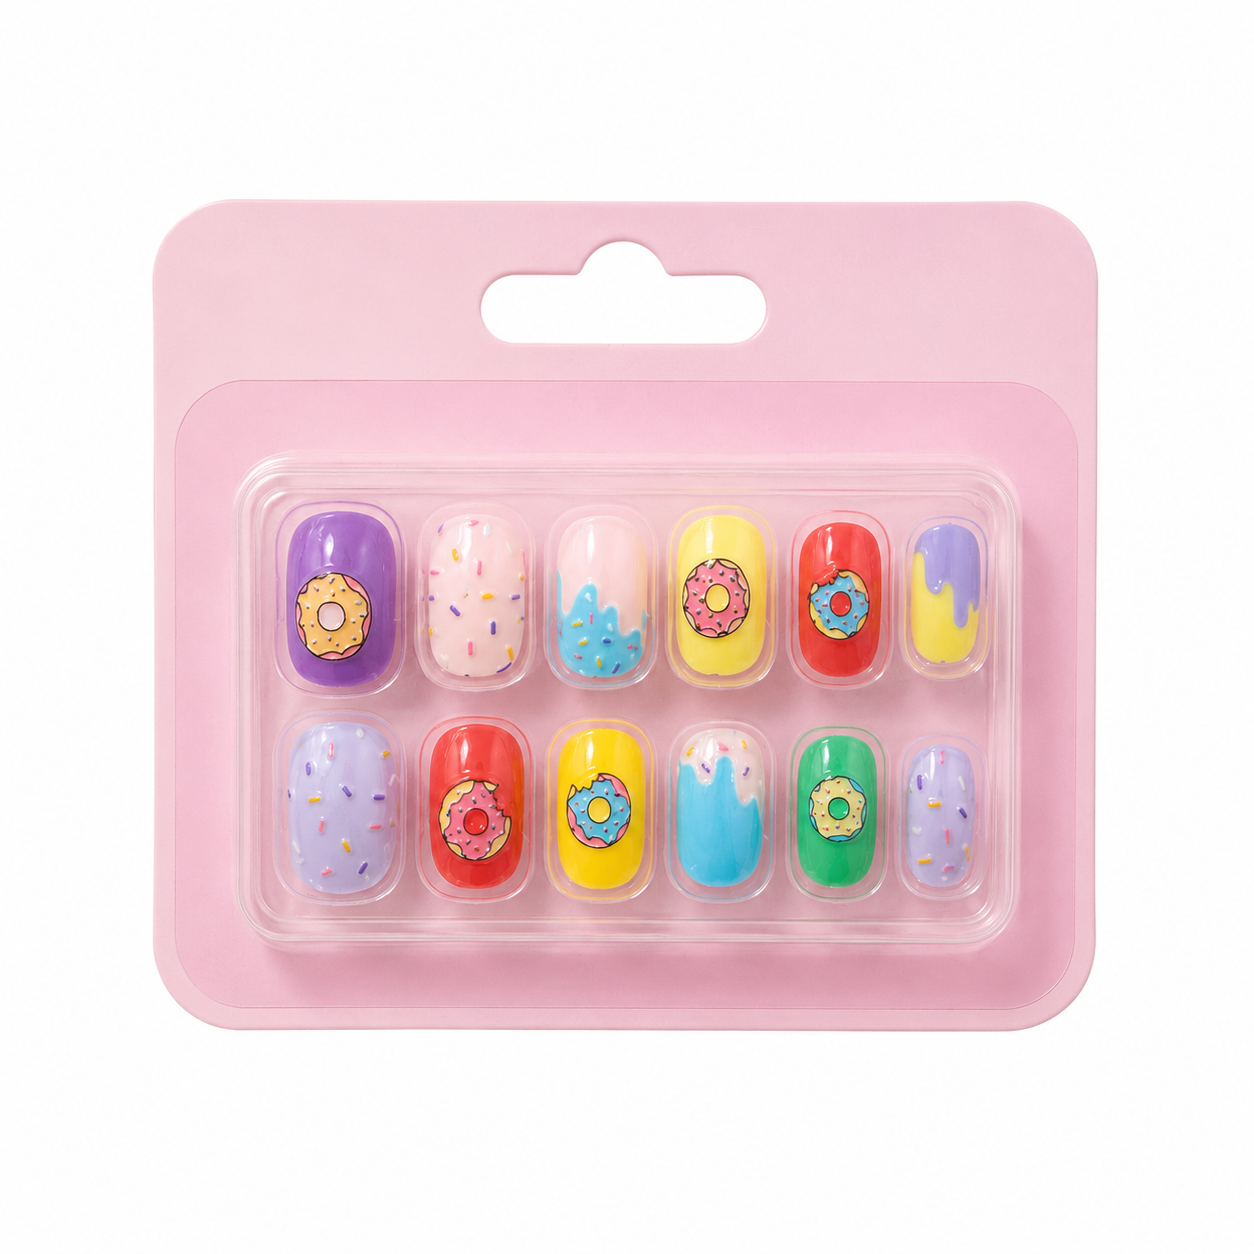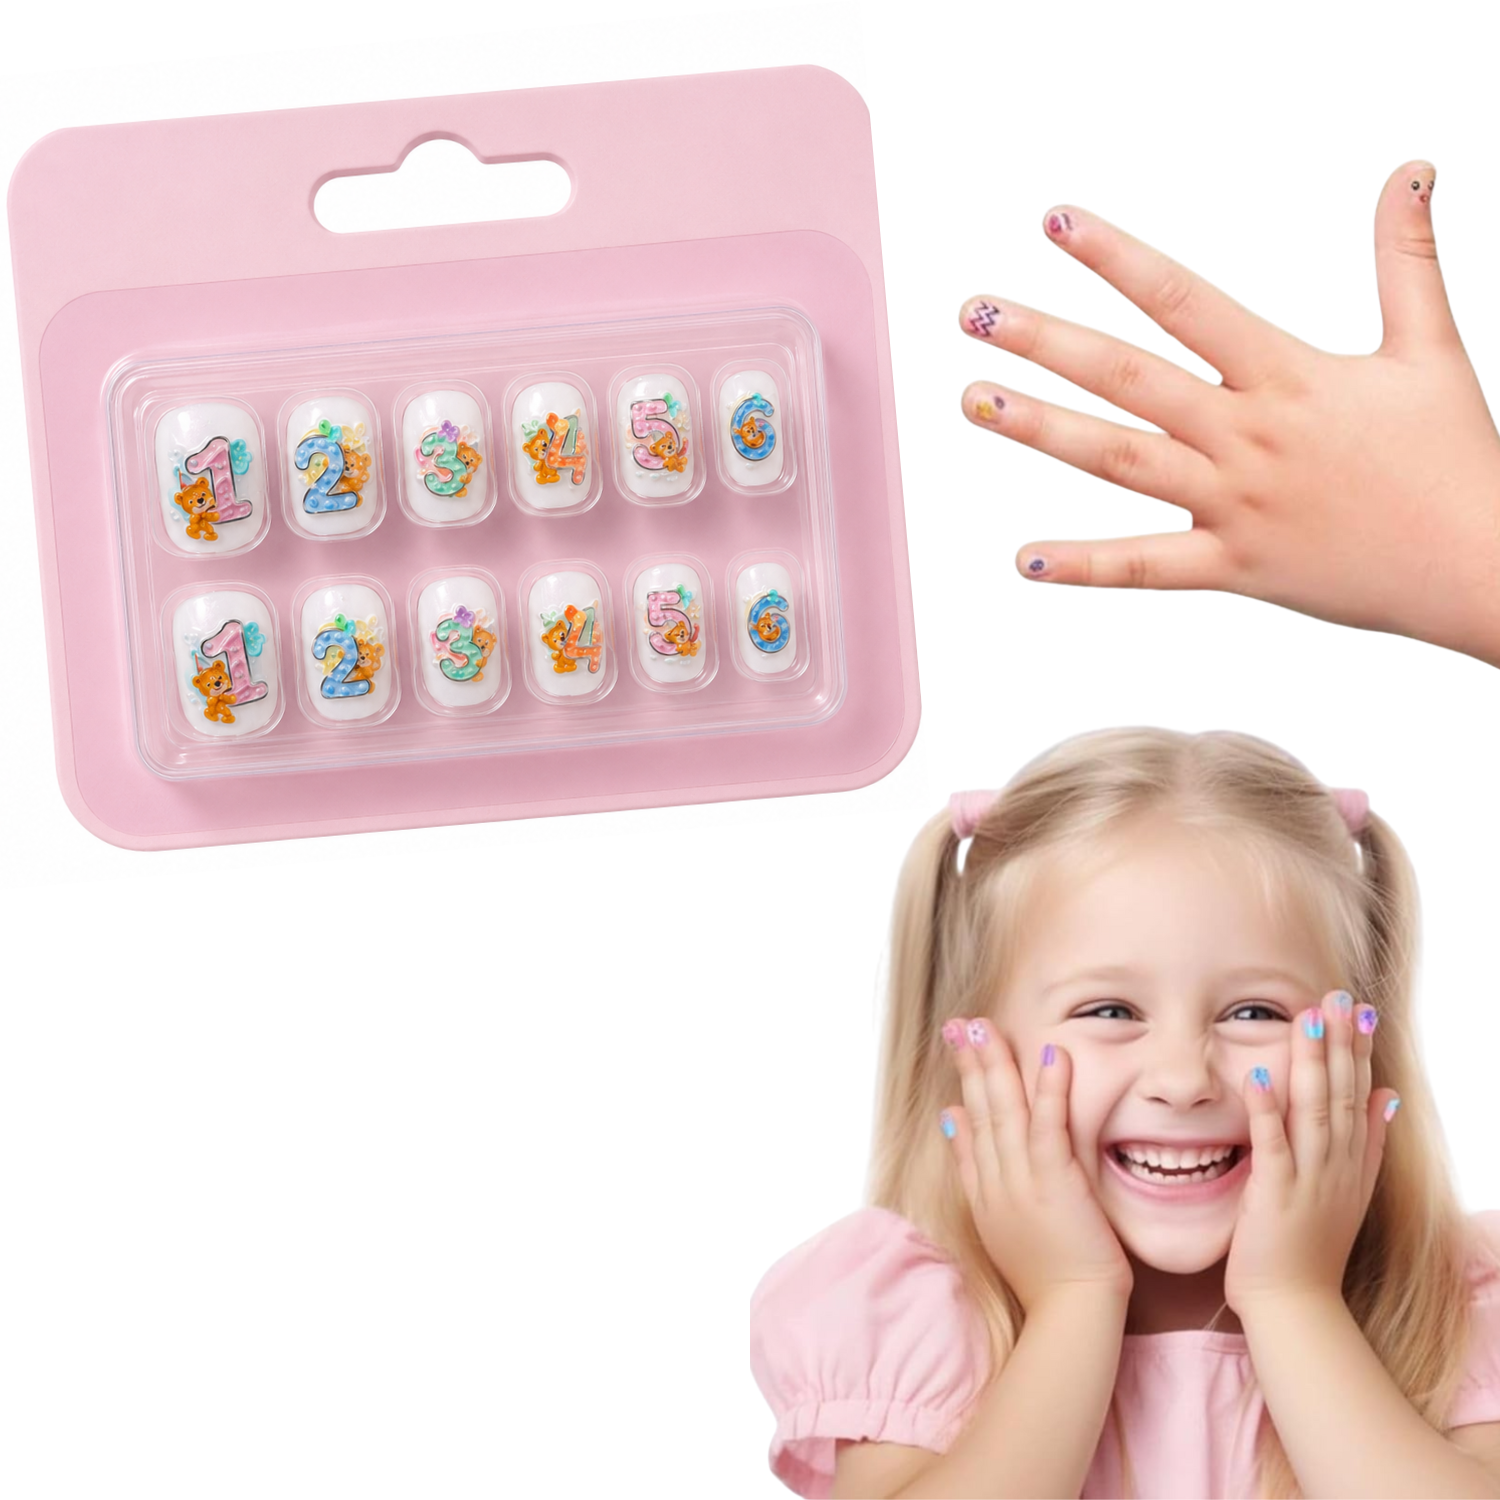
Why Press-On Nails Have Revolutionized Modern Nail Care
Gone are the days when artificial nails meant spending two hours under harsh UV lamps, enduring electric drills that thin your natural nail plate, and paying expensive salon maintenance fees every two weeks. Modern press-on nails crafted from high-grade ABS polymer offer identical durability, hyper-realistic hand-painted textures, and salon-quality aesthetics in less than fifteen minutes at home.
Whether you are preparing for a wedding, a job interview, a weekend celebration, or simply want to express your creativity, press-on nails give you complete freedom to switch styles on demand without committing to permanent extensions. However, achieving a flawless, long-lasting manicure requires understanding the science of nail preparation, correct sizing, and safe removal techniques.
Step 1: Finding Your Perfect Size
One of the most frequent mistakes beginners make is choosing artificial nails that are too wide or too narrow for their nail bed. If a press-on nail is too wide, it will press against your lateral nail folds, causing discomfort, lifting, and premature detachment. If it is too narrow, your natural nail edge will be exposed to water and dirt.
- Size selection: Always test each tip against your bare nail before applying glue. The artificial nail should fit seamlessly from sidewall to sidewall without having to push down forcefully.
- When between sizes: If a tip is slightly too large, use the fine-grit emery board included in your prep kit to gently file down the sides until it matches your natural cuticle contour.
- Pre-organize: Lay all ten nails out in order on a clean lint-free towel before opening your adhesive.
Step 2: The Critical Prep Routine (The Secret to Longevity)
Over 90% of premature nail lifting is caused by moisture, natural sebum oils, or cuticle residue left on the natural nail plate. Follow this proven 4-step preparation routine:
- Wash and Sanitise: Wash your hands thoroughly with antibacterial soap. Avoid heavy moisturizers, hand lotions, or oils for at least 2 hours before application.
- Push Back Cuticles: Using an orange wood stick or rubber cuticle pusher, gently push back the eponychium (cuticle). Removing invisible dead skin along the base of the nail prevents lifting.
- Lightly Buff the Surface: Use a fine 180/240-grit buffer to gently etch the natural shine off your nails. Create slight micro-texture so the adhesive has a porous surface to grip onto. Do not aggressively thin your nails.
- Dehydrate with Alcohol: Wipe each nail bed with a 70%+ isopropyl alcohol prep pad or pure acetone to remove all residual dust, oils, and moisture. Let them air-dry completely for 15 seconds.
Step 3: Choosing Your Adhesive: Glue Tabs vs. Liquid Resin
Understanding which bonding agent suits your lifestyle determines both longevity and wear comfort:
| Adhesive Type | Wear Duration | Ideal Occasion | Reusability |
|---|---|---|---|
| Double-Sided Jelly Tabs | 3 to 5 Days | Weekend parties, photoshoots, work environments with strict dress codes | Maximum — tips remain completely clean after tab peel-off |
| Cyanoacrylate Nail Glue | 10 to 18 Days | Vacations, extended daily wear, active lifestyles | Moderate — tips require gentle adhesive cleaning before reapplication |
How to Apply with Glue for Maximum Hold:
Place a small drop of liquid nail glue on the center of your natural nail and a micro-drop inside the base of the artificial tip. Align the press-on at a 45-degree angle right at the cuticle line, then slide it down and press firmly toward the free edge. Hold consistent, firm pressure across the entire nail for 30 seconds to eliminate air bubbles. Air pockets are the main culprit behind water ingress and bacterial moisture traps.
Step 4: Aftercare and The Crucial First 2 Hours
After completing your full set, avoid submerging your hands in hot water, taking steamy showers, or applying heavy cuticle oils for the first 2 hours. This gives the cyanoacrylate polymer sufficient time to cure and form a watertight molecular seal with your keratin plate.
Step 5: Safe, Damage-Free Removal Method
Never pull, peel, or pry your press-on nails off when dry! Forcing an artificial nail off will tear the superficial layers of natural keratin, resulting in brittle, peeling nails.
- Fill a small bowl with warm (not boiling) water.
- Add a few drops of mild hand soap and a tablespoon of olive oil, coconut oil, or jojoba oil.
- Submerge your fingertips for 10 to 15 minutes. The warm water loosens the adhesive matrix while the oil penetrates the lateral margins.
- Use the slanted edge of an orange wood stick to test the sides. If the nail moves freely, gently tease it away from the cuticle toward the tip. If there is resistance, soak for another 5 minutes.
- Once removed, wipe your natural nails clean and massage nourishing cuticle oil into your nail beds.